Major spoilers: the deaths of Koji Haneda and Amanda Hughes, the identities of Asaka and Rum, and the aftermath through manga Volume 108.
The 17-Year-Old Truth runs for four anime episodes: Episodes 1222-1225 (Japanese episodes 1164-1167). The manga story is in Volume 104, Files 1103-1109. It begins with a present-day chess event, enters Hyoue Kuroda’s memories of the Juke Hotel case seventeen years earlier, and returns to the confrontation between Rum and Rumi Wakasa.
The central revelation is that Amanda and Koji both acted to protect Asaka, but their deaths happened differently. Amanda took the poison herself to remove Rum’s leverage over her; Koji was forced to take it after sheltering Asaka. Knowing who protected her, and when, changes the meaning of the whole case.
The anime episodes and manga chapters
The four anime episodes
Episode 1222 (Japanese episode 1164), The 17-Year-Old Truth (The Bloody Knight), opens the present-day chess tournament case.
Episode 1223 (Japanese episode 1165), The 17-Year-Old Truth (The Perceptive Devil), moves the narrative into the Juke Hotel events.
The story continues in Episode 1224 (Japanese episode 1166), The 17-Year-Old Truth (The Far-Sighted Bishop), and concludes in Episode 1225 (Japanese episode 1167), The 17-Year-Old Truth (The Queen’s Gambit).
Across the four installments, the story reveals the two deaths, Asaka’s escape, Kuroda’s accident, and Wakasa’s present-day counterattack. The cheerful setting of a chess event becomes an entry into a much colder history.
Volume 104, Files 1103-1109
Files 1103, 1104, and 1105 establish the present-day case. Files 1106, 1107, 1108, and 1109 develop the events of seventeen years earlier and their consequences. The opening chapter is Black-and-White Opening; the final chapter is Queen’s Gambit. These English chapter titles follow established secondary usage.
The chess pieces are more than a recurring decoration. Evidence in the current case triggers Kuroda’s memory of the older one, making the transition between timelines part of the mystery itself. That shared motif gives the present-past-present structure its coherence.
The timeline: a current case opens an older wound
The present-day chess tournament
Conan, the Detective Boys, Rumi Wakasa, and Sumiko Kobayashi visit a chess tournament. Ninzaburo Shiratori and Hyoue Kuroda are also there when competitors become targets in a series of crossbow attacks. Chess-related clues, including a knight, are left behind.
The present-day crime has its own resolution, but Wakasa and Kuroda’s encounter gives it another significance. Both connect to the old hotel case. The chess evidence brings Kuroda back to the day Koji Haneda and Amanda Hughes died.
Seventeen years earlier at the Juke Hotel
The hotel in the United States was hosting a chess tournament. Koji, a professional shogi player, and wealthy American Amanda Hughes were staying there. Asaka was Amanda’s bodyguard. Kuroda was also at the hotel and had arranged to meet Amanda, although the intended subject of their meeting remains unclear.
Rum approached Amanda to bring her influence under the Black Organization’s control. He recognized that her attachment to Asaka could be used against her. Amanda sent Asaka to Koji’s room before facing Rum herself.
Amanda and Koji died; Asaka survived. Kuroda’s place in that sequence is crucial: he was someone trying to help her escape, not the person who created the danger. A figure who had long looked ominous is repositioned by the history he carries.
Back in the present, Rum moves against Wakasa
Rum identifies the assistant teacher Rumi Wakasa as the Asaka who escaped seventeen years earlier and sends Organization operatives after her. Memories of the old case and a voice he may have heard are relevant to that recognition, but the precise contribution of each clue should not be treated as fully established here.
Wakasa anticipates an attack, prepares a firearm, and counters the snipers. The woman once protected by others is now able to fire back. That reversal is exhilarating, but the danger she is willing to create also complicates it.
Why Amanda and Koji died
Amanda chose the poison to protect Asaka
Amanda took the APTX 4869 in Rum’s possession herself; she was not forced to swallow it in the same way as Koji. Rum wanted the influence she held, including connections to the FBI and CIA, and intended to use Asaka to make her comply.
Amanda had already sent Asaka away to Koji’s room. By choosing death, she removed the value of holding Asaka hostage to control her. The decision follows from an attachment closer to a mother’s love than a merely professional relationship with a bodyguard.
Her wealth and influence could not keep her safe from Rum, yet her last decision was directed toward Asaka’s future rather than her own survival. That is why the revelation lands so heavily: the political target becomes a person protecting someone she treats as a daughter.
Koji knowingly sheltered Asaka
Asaka wanted to return to Amanda. Koji understood that doing so would let Rum capture her and use her as leverage. He stunned her to stop her leaving and altered items such as the bedding and dishes to conceal her presence in his room.
The danger to Koji was not hidden from him. Asaka warned him, but he still chose to protect her. During his exchange with Rum, he also reasoned toward the Organization’s connection to Renya Karasuma. His refusal to surrender Asaka is central to the circumstances that led to his murder.
Rum’s side forced Koji to take APTX 4869, and he died. Haibara later found his name among the drug’s listed victims. Amanda’s voluntary act and Koji’s forced poisoning should remain distinct even though both protected the same person.
The case changes Koji from a famous player whose name survived on a victim list into someone who made a conscious choice under threat. Asaka’s survival carries the weight of that choice as well as Amanda’s.
The clues Amanda and Koji left behind
Amanda’s message warns about Rum’s eye
Kuroda photographed Amanda’s room after discovering her body. The arrangement involving a chess piece, a wristwatch, and lipstick preserved traces of her final actions. Conan later interprets the message as a warning to watch out for an eye: Rum’s.
Seventeen years earlier, Rum’s left eye was associated with extraordinary visual recall. He could retain identifying features and behavior after seeing them. Amanda’s warning points to that dangerous ability, rather than merely leaving his name.
The message suggests that Amanda wanted to warn whoever investigated after her death. She was still resisting Rum while making her final effort to protect Asaka. Her death did not end every form of resistance available to her.
Koji’s bishop points beyond the immediate escape
Koji gave Asaka a bishop, the shogi piece that travels diagonally across the board. His words draw on the idea that a bishop placed far away can still exert decisive influence. The piece suggests escape into the distance and a chance to strike back.
Wakasa still carries that bishop in the present. It connects her actions to the person who wanted her to survive, and her counterattack may be read as an answer to the hope entrusted to her.
But revenge may not have been the whole of Koji’s wish. Her continued life matters too. Watching Wakasa take extreme risks leaves an uncomfortable question: is pursuing Rum at any cost the future he wanted for her, or only one possible reading of what he left behind?
Who was who in the old case?
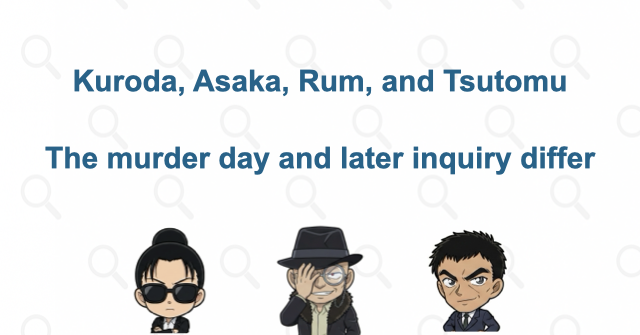
Asaka is Rumi Wakasa
Asaka, whose name is given as Rachel Asaka, was Amanda’s bodyguard. She is the woman now living as Rumi Wakasa, assistant teacher of Class 1-B at Teitan Elementary School. She survived with help from Amanda, Koji, and Kuroda, and carries a fierce hostility toward Rum and the Organization.
Her gentle teacher persona sits uneasily beside that readiness for violence. Her identity has been established, but every part of her past has not: her family background and the exact duration of her later association with Tsutomu Akai remain unclear.
Hyoue Kuroda was a witness and would-be rescuer
Kuroda visited Amanda’s room after watching the tournament and found her dead. His photographs later made the dying-message deduction possible. He then went to Koji’s room, where Asaka attacked him because she mistook him for one of the Organization’s people.
He nevertheless tried to get her out of the hotel and away from the danger. His presence at the scene and his connection to Amanda no longer point in the same direction as the earlier suspicion surrounding him. The planned meeting is established; its specific agenda remains unclear.
Rum inherited his codename from his father
The present Rum is the second holder of the codename, inheriting it from a father who had long served Renya Karasuma. He is the Organization’s second-in-command and uses the identity of Kanenori Wakita while working at Beika Iroha Sushi.
His recollection of faces, habits, and movements becomes a tool for finding leverage. Amanda’s attachment to Asaka is something to exploit. That use of perception makes him frightening: understanding another person becomes a means of controlling them.
The first Rum’s detailed identity and history remain unclear. Inheriting the codename establishes a connection between father and son, not a complete biography of either.
Tsutomu Akai investigated afterward
Tsutomu was not one of the people present at the hotel murders. Koji’s father asked him to investigate after Koji died. Tsutomu traveled to the United States, recognized the danger, and told his wife Mary to take their children from Britain to Japan.
During the ensuing investigation, he encountered Asaka, protected her, and confronted Rum. He then disappeared. Kuroda’s attempt to rescue Asaka belongs to the hotel escape; Tsutomu’s involvement belongs to the later investigation. Combining them into one event would distort the timeline.
Volume 108 revisits Tsutomu and Rum’s past, but Tsutomu’s survival and whereabouts remain unclear. Through his son Shuichi Akai and the FBI, this later stage of the old conflict also reaches into the present.
Three eye conditions, three different histories
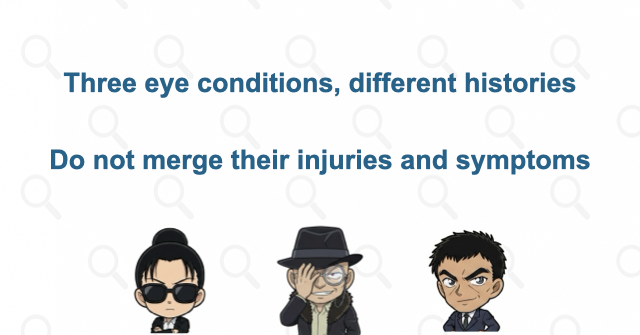
Rum’s left eye, Wakasa’s right eye, and Kuroda’s right eye are not the same clue. The similarities helped keep several suspects in play, but the revealed conditions and their histories differ.
Rum: an extraordinary left eye, later replaced by a prosthesis
Rum’s left eye was intact during the hotel case. Covering his right eye while examining surveillance footage, he used the left to recognize Amanda’s bodyguards through their appearance, movement, and habits. The visual-memory ability explains the danger behind Amanda’s warning.
In the later storyline, he uses a prosthetic left eye. How he lost the original eye remains unclear. A connection to his subsequent clash with Tsutomu is possible, but the loss itself is not shown here, so that theory should not become a statement that Tsutomu definitely caused it.
Wakasa: intermittent loss of vision in the right eye
Wakasa’s right eye is not a prosthesis. Her condition is described in the story as amaurosis fugax, involving temporary disturbances of vision. The eye is not portrayed as permanently sightless: she ordinarily uses it, with problems occurring at particular moments.
Symptoms appear in her past as Asaka as well as in the present. Strong emotion and memories of the old case accompany some episodes, and the trauma may be connected to the pattern as portrayed. That is an interpretation of this fictional character’s symptoms, not a settled explanation of their cause.
Her movements to compensate for her right eye once made her resemble the rumored one-eyed Rum. Knowing she is Asaka resolves the identity question without making her condition identical to his.
Kuroda: a severe accident and a long coma
While trying to drive Asaka to safety, Kuroda was pursued by Rum’s side and suffered a serious car accident. He remained in a coma for about ten years. Afterward, his previously dark hair was white, his face was scarred, and his right eye was replaced by a prosthesis.
The precise moment and mechanism of the eye injury are not established here. What the backstory changes is the interpretation of the visible clues: the scar, white hair, prosthetic eye, and long absence belong to the aftermath of trying to help Asaka.
The ending does not end the conflict
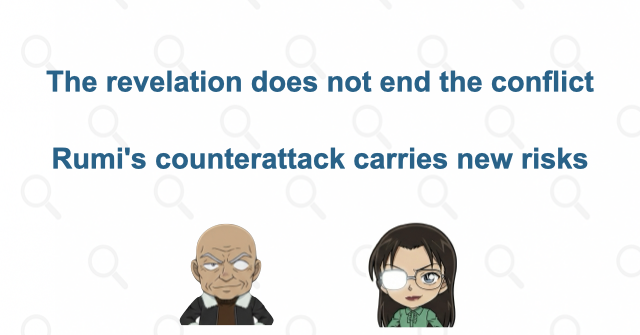
Wakasa turns the snipers’ attack against them
Back in the present, Rum sends Chianti and Korn after Wakasa. Having anticipated the attack and prepared a handgun, she fires back and hits Chianti. The bishop from Koji remains with her as a tangible link to the old case.
Her retaliation appears to fulfill the idea of a distant counterattack. Yet Kobayashi and the Detective Boys are nearby, so her readiness to fight may put others in danger. The reversal from protected fugitive to formidable opponent is stirring without making every consequence reassuring.
Volume 108 brings Wakita and Wakasa close again
The Volume 108 continuation brings Kanenori Wakita into contact with FBI agent Andre Camel, with Wakasa also appearing. Rum recognizes Asaka in Wakasa, while she presses closer to Wakita’s identity. Their conflict moves from distant pursuit to a much closer encounter.
Tsutomu’s earlier clash with Rum is also brought back into view, tying the hotel aftermath to Shuichi and the FBI. This discussion stops at that Volume 108 material; Rum’s eye injury and Tsutomu’s fate remain unresolved here.
What the revelation changes
The four-episode adaptation explains why Amanda and Koji died, establishes Wakasa as Asaka, and distinguishes Kuroda’s rescue attempt from Tsutomu’s later investigation. It also untangles three eye-related clues that once encouraged the same suspicion.
Amanda, Koji, Kuroda, and Tsutomu each protected Asaka in a different way. Seventeen years later, she is the one facing Rum with a weapon and Koji’s bishop still in her possession. The case is compelling because its answers carry forward into new choices, including the unsettling question of how far she will go.



Comments